Description
This hand-forged cottage door latch is a traditional hardware piece designed for rustic doors, offering both aesthetic charm and practical locking function. Crafted by blacksmiths using time-honored techniques, it embodies authentic craftsmanship and rural character, ideal for restoring old farmhouses or enhancing any heritage-style building.
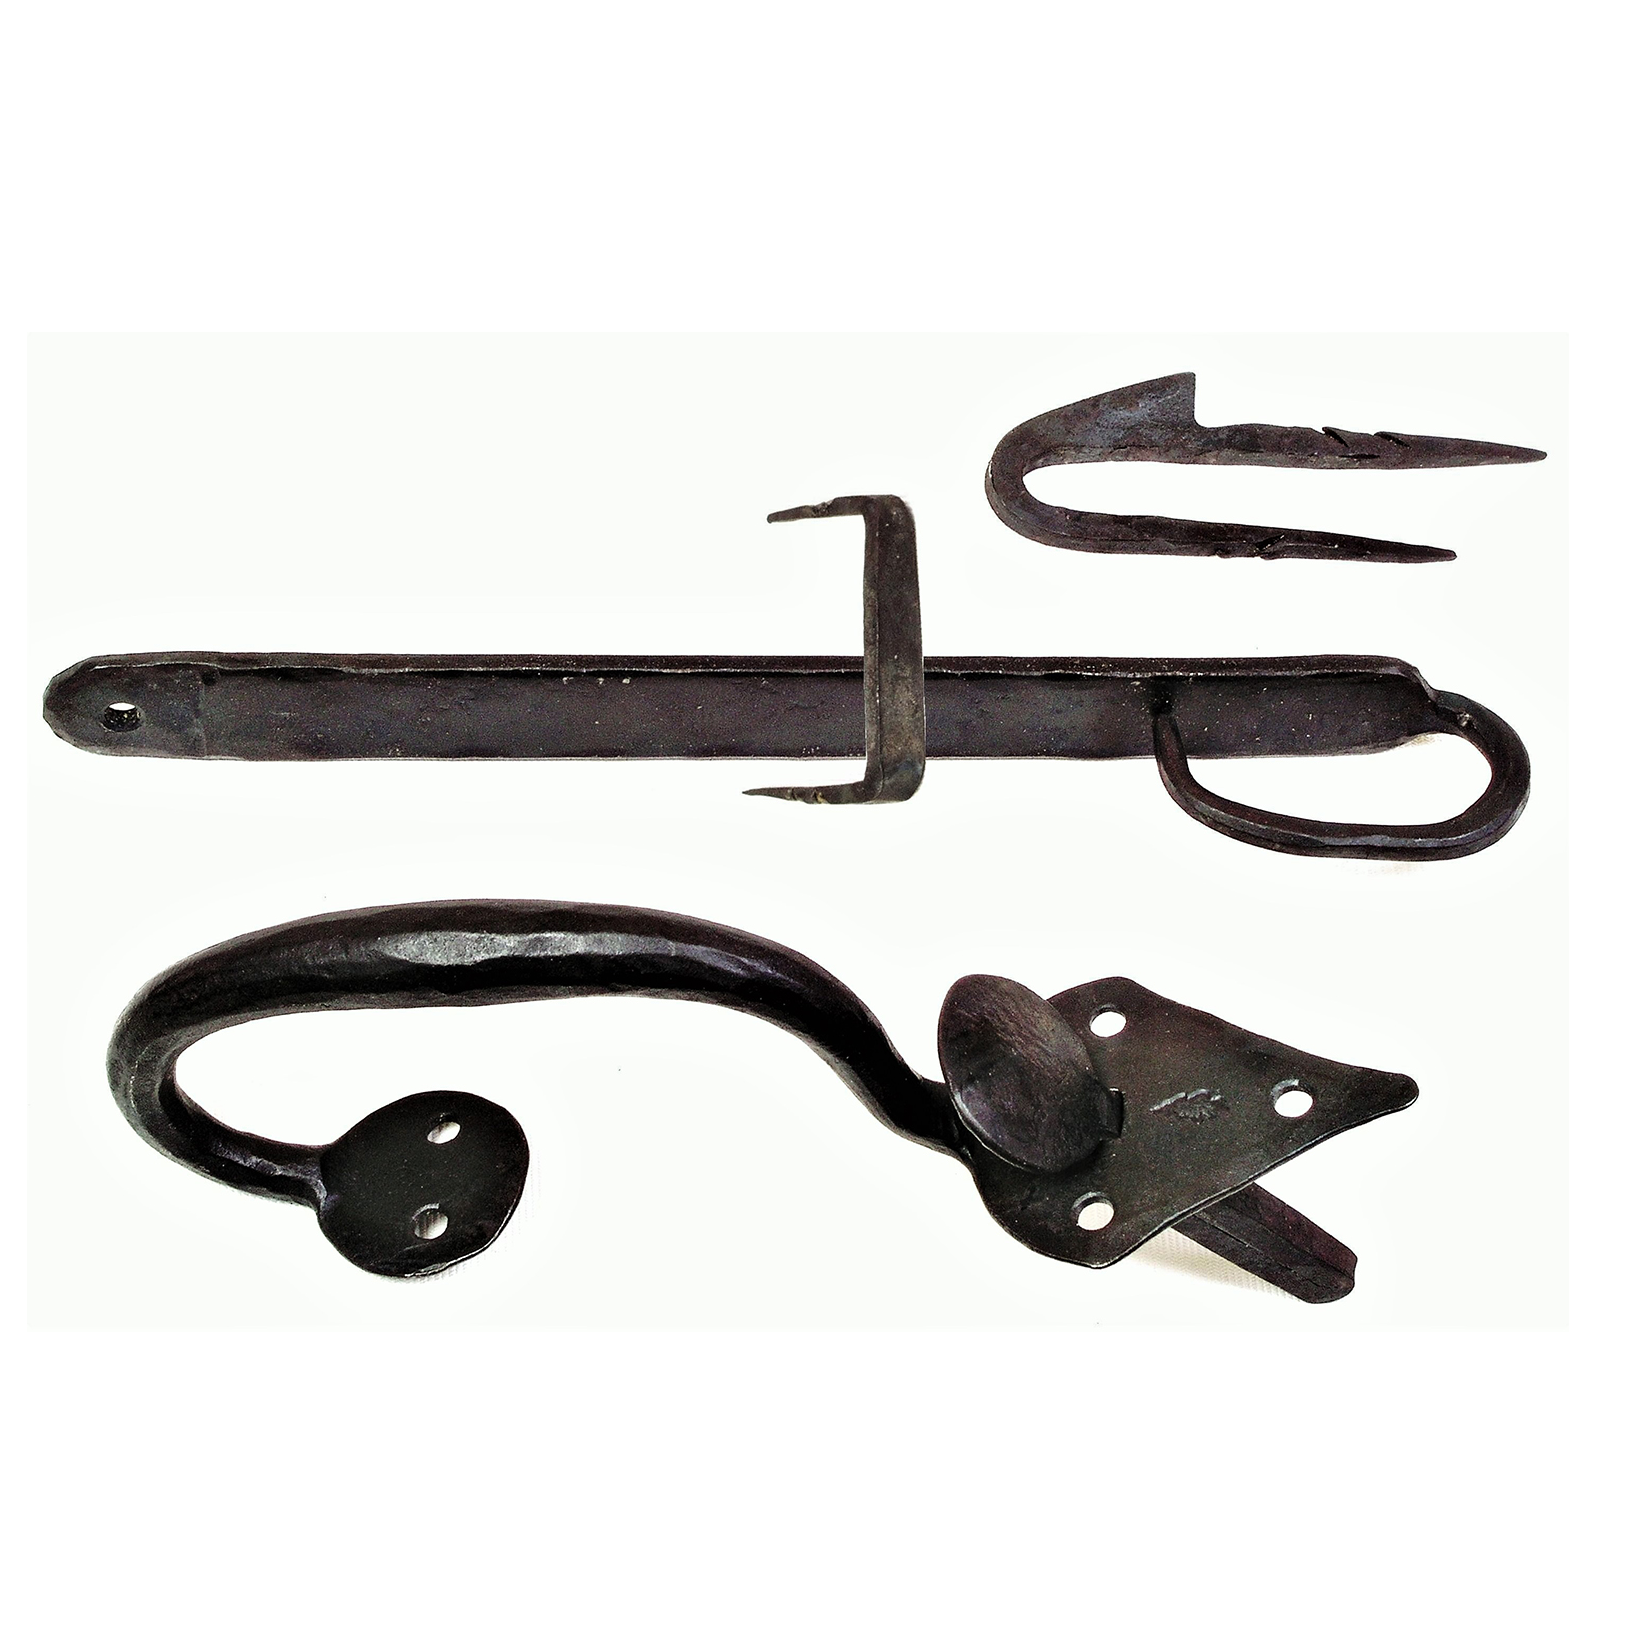
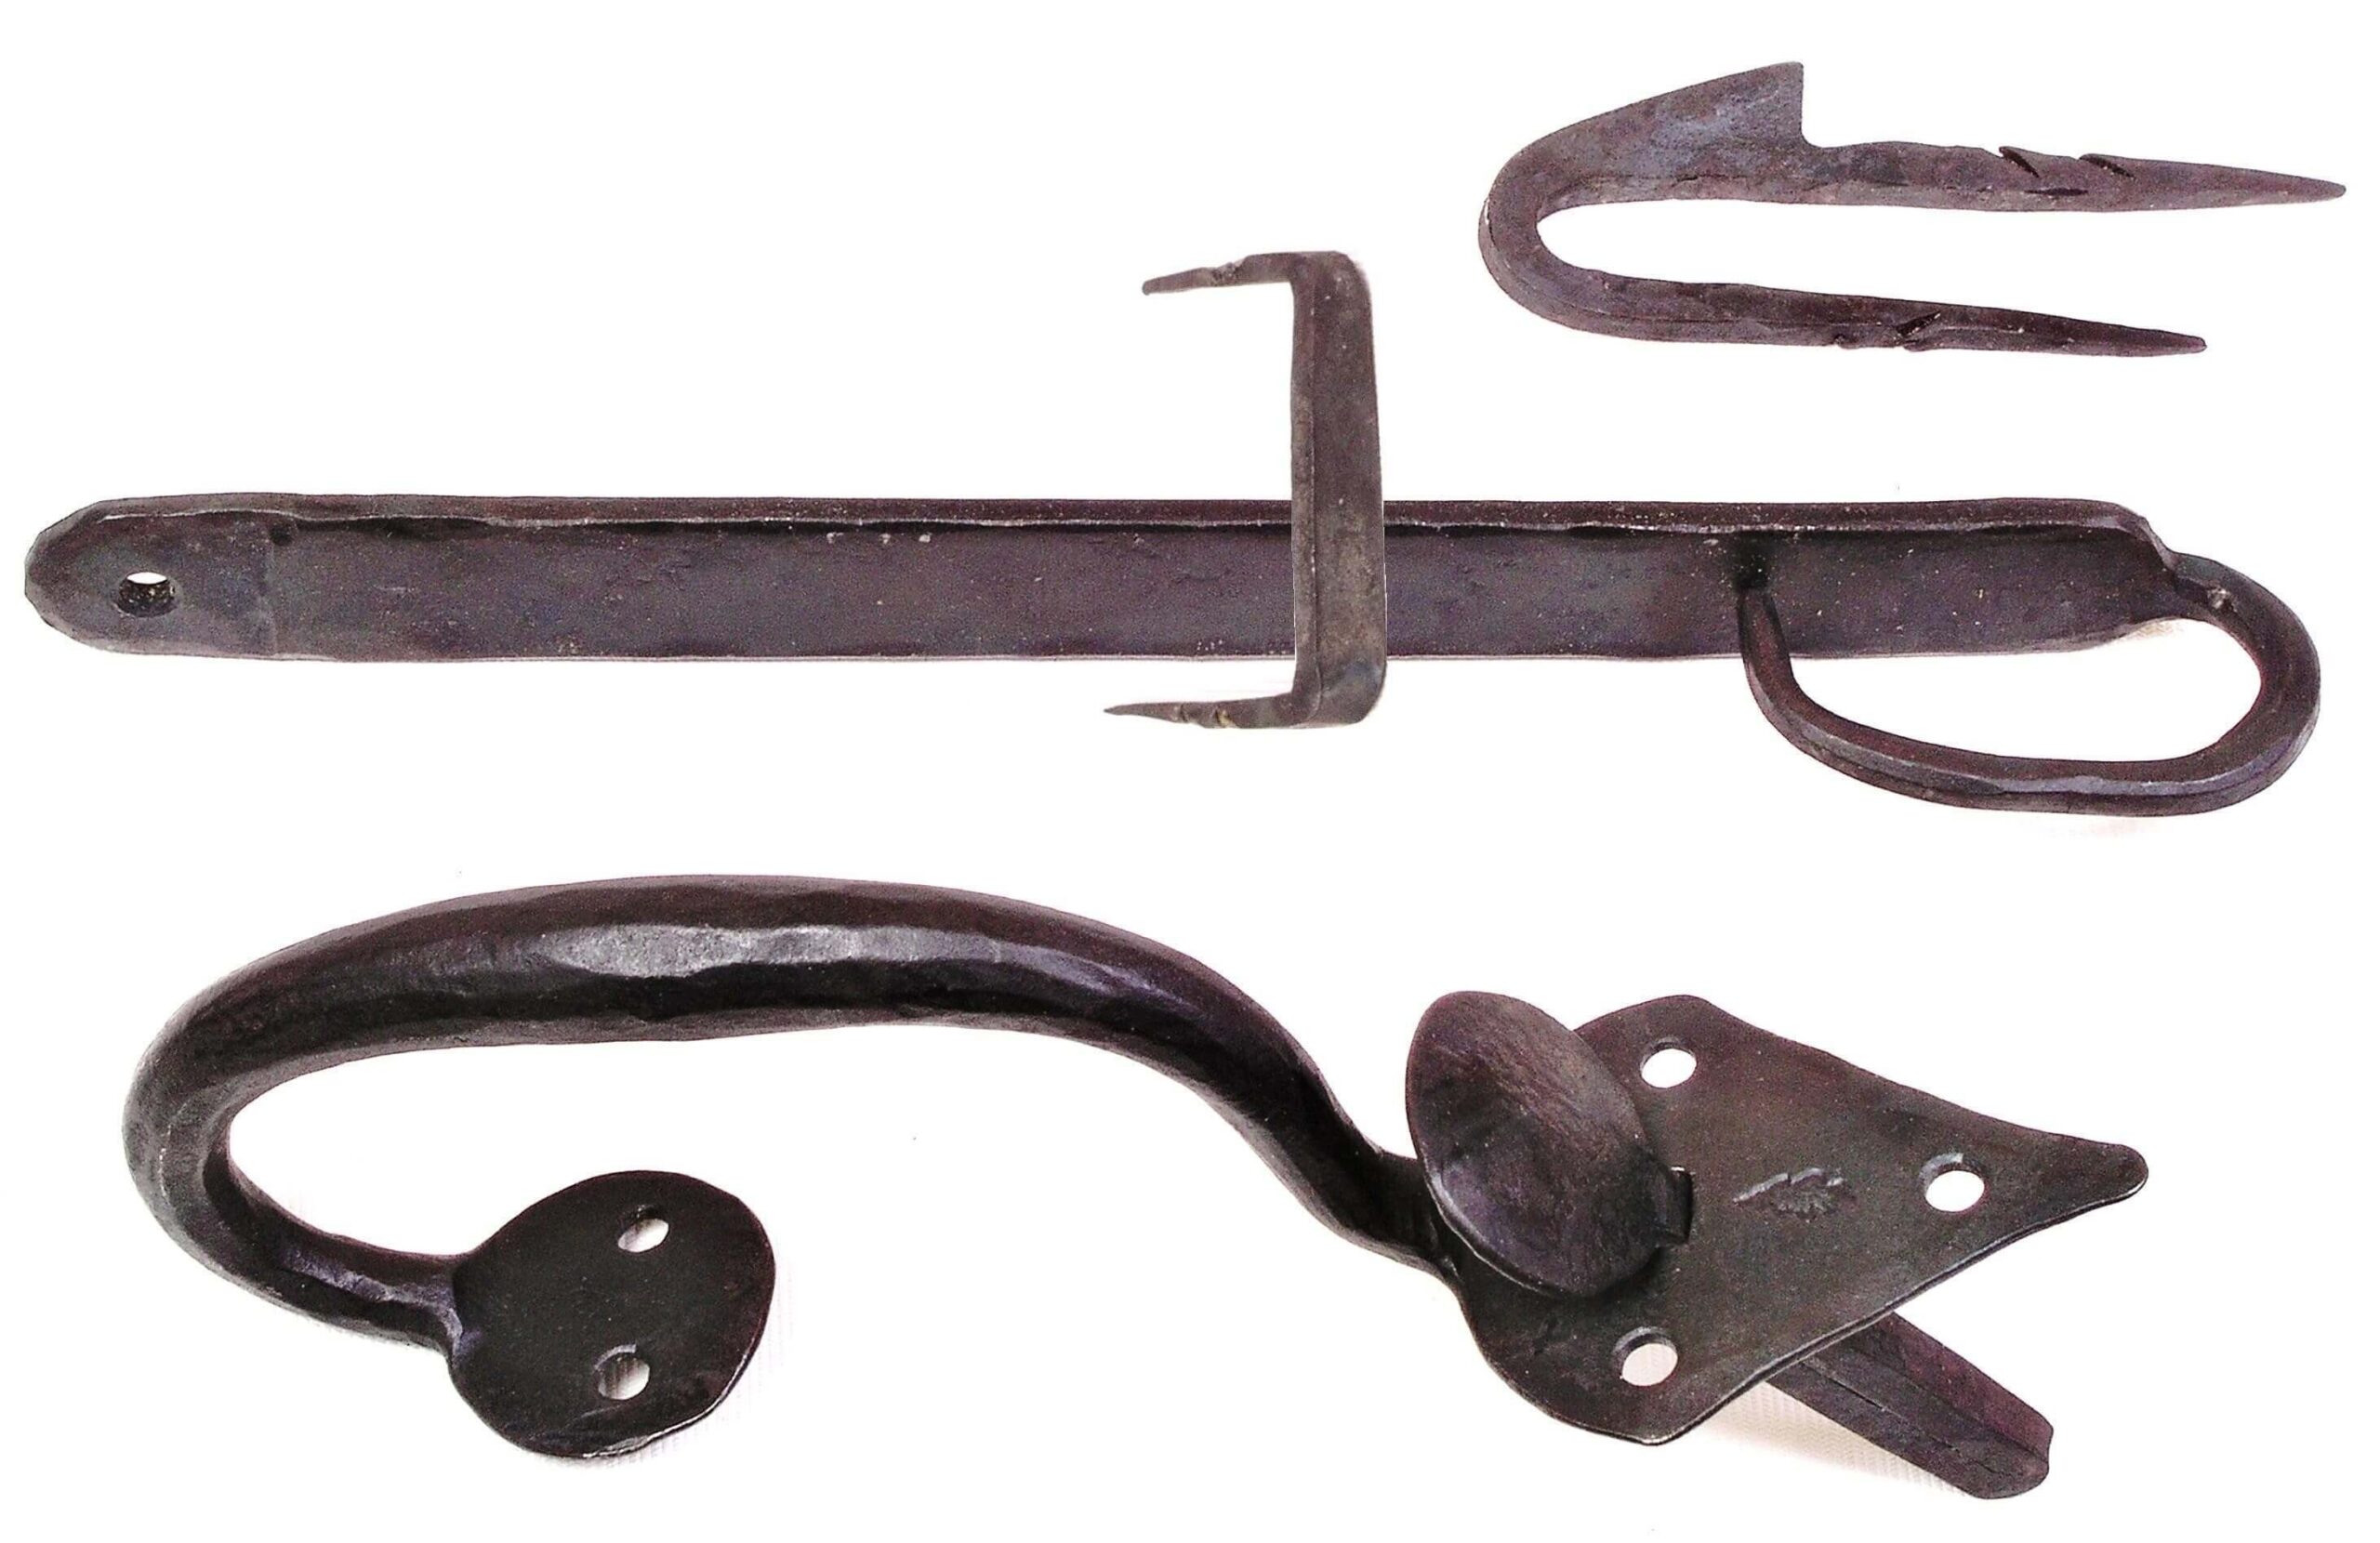
The handle is 22 cm long and features a curved “spoon” tip that passes through the door (6.5 cm in length). On the inside, a 26 cm horizontal locking bar sits across the door, securing it shut when engaged. The full set includes four forged parts: the exterior handle with the spoon, the locking bar, a catch that holds the bar in the up/down position, and a strike plate that locks the bar in place.
Installation requires 6 screws (not included). We recommend using traditional nails or screws depending on the desired finish. The latch comes in a classic blackened finish that emphasizes the handmade surface and adds timeless appeal.
Perfect for traditional cottages, saunas, barns, or garden gates — especially where preserving historical character is important. The handle’s size and curvature make it easy to grip, even when wearing thick winter gloves.
Each latch is individually hand-forged, ensuring every piece has its own character — no two are ever exactly alike.
Installation Instructions for the Cottage Door Latch
The handle with the spoon-shaped tip must always be installed on the inside. Position the spoon at the desired location and press it against the door to leave a mark. Using a 14 mm drill bit, drill a hole through the door. Now drill a second hole just below the first one, as close as possible, and begin moving the drill up and down to merge the two holes into one vertical slot.
Next, attach the handle either with forged nails or screws. When using forged nails, choose nails long enough to go through the entire door. Rivet the nail tips using two hammers — support the nail head with a larger hammer and rivet the tip with a smaller one.
Then, close the door and install the latch bar. Ensure that the bar rests horizontally on top of the spoon. Next, install the staple. It should be placed a few centimeters from the edge so that when the bar rests on the spoon in the lowered position, there is a small gap (a few millimeters) between the lower part of the staple and the latch bar. Press the staple against the door to mark its position, then drill 5 mm pilot holes. Carefully hammer the staple into place. Make sure it does not hinder the movement of the latch bar but also that the gap isn’t too large.
Now it’s time to install the catch plate. Place the catch in the correct position on the door frame so that the latch bar can slide freely over it and the door closes properly. Mark the spot and drill 6 mm pilot holes. Carefully hammer the catch plate into place while ensuring the door can still close smoothly.
We recommend allowing slightly more looseness and spacing when installing forged parts. It’s better to hear a satisfying metal clunk when closing the door than to have parts bounce back or not stay in place. When drilling pilot holes, follow the rule: better to start smaller than too large. The forged part should fit freely but not too loosely. Avoid installing without pre-drilling, as it may cause the wood to crack and damage the door.